Getting Started with AlgoKit
Hello, Developer! Welcome to Algorand!
This quick start guide will help you set up your development environment, create your first Algorand project with AlgoKit, and deploy your first Algorand smart contract. By the end of this guide, you’ll be ready to build your own decentralized application on the Algorand blockchain.
AlgoKit is a comprehensive toolkit that allows developers to quickly and easily build and launch secure, automated, production-ready decentralized applications on the Algorand protocol. With AlgoKit 2.0, you can now write Algorand smart contracts using Python, one of the world’s most popular programming languages.
In addition, AlgoKit features:
- A library of smart contract templates to kickstart your project.
- Local application infrastructure setup.
- Toolchain integrations for popular languages like Python and TypeScript.
- A simplified frontend design experience.
Let’s get started!
Development Environment Setup
Let’s first set up your development environment to start building on Algorand. Follow the instructions below and install all of the prerequisites and AlgoKit.
Prerequisites
- Python 3.12 or higher
- PipX
- Git
- Docker
- VSCode (recommended)
Install AlgoKit
-
To install AlgoKit, run the following command from a terminal.
Terminal window pipx install algokit -
If you used AlgoKit before, update it with pipx:
Terminal window pipx upgrade algokit -
After the installation completes, restart the terminal.
-
Ensure prerequisites are installed
-
Install Python3 using WinGet
- Install python 3.12:
Terminal window winget install python.python.3.12 -
Restart the terminal to ensure Python and pip are available on the path
-
Install pipx:
Terminal window pip install --user pipxpython -m pipx ensurepath -
Restart the terminal to ensure pipx is available on the path
-
Install AlgoKit via pipx:
Terminal window pipx install algokit -
If you used AlgoKit before, update it with pipx:
Terminal window pipx upgrade algokit -
Restart the terminal to ensure AlgoKit is available on the path
-
Ensure prerequisites are installed
-
Install AlgoKit, with
pipxby running the following command from a terminal.Terminal window pipx install algokit -
If you used AlgoKit before, update it with pipx:
Terminal window pipx upgrade algokit -
After the installation completes, restart the terminal.
If you want to learn about AlgoKit features, AlgoKit videos are available on the @AlgoDevs YouTube channel.
Verify the Installation
To verify AlgoKit installed correctly run the following.
algokit --versionOutput similar to the following should be displayed:
algokit, version 2.1.2Start a LocalNet
When building smart contracts, start by testing on a local Algorand blockchain running on your computer. Deploying and calling smart contracts on mainnet (the live public blockchain for production) costs real money. Deploying on testnet (a replica of mainnet for testing) can be cumbersome. Therefore, it is recommended to first test on the local blockchain. Once everything works, move to testnet for final testing, and then deploy to mainnet to launch your application.
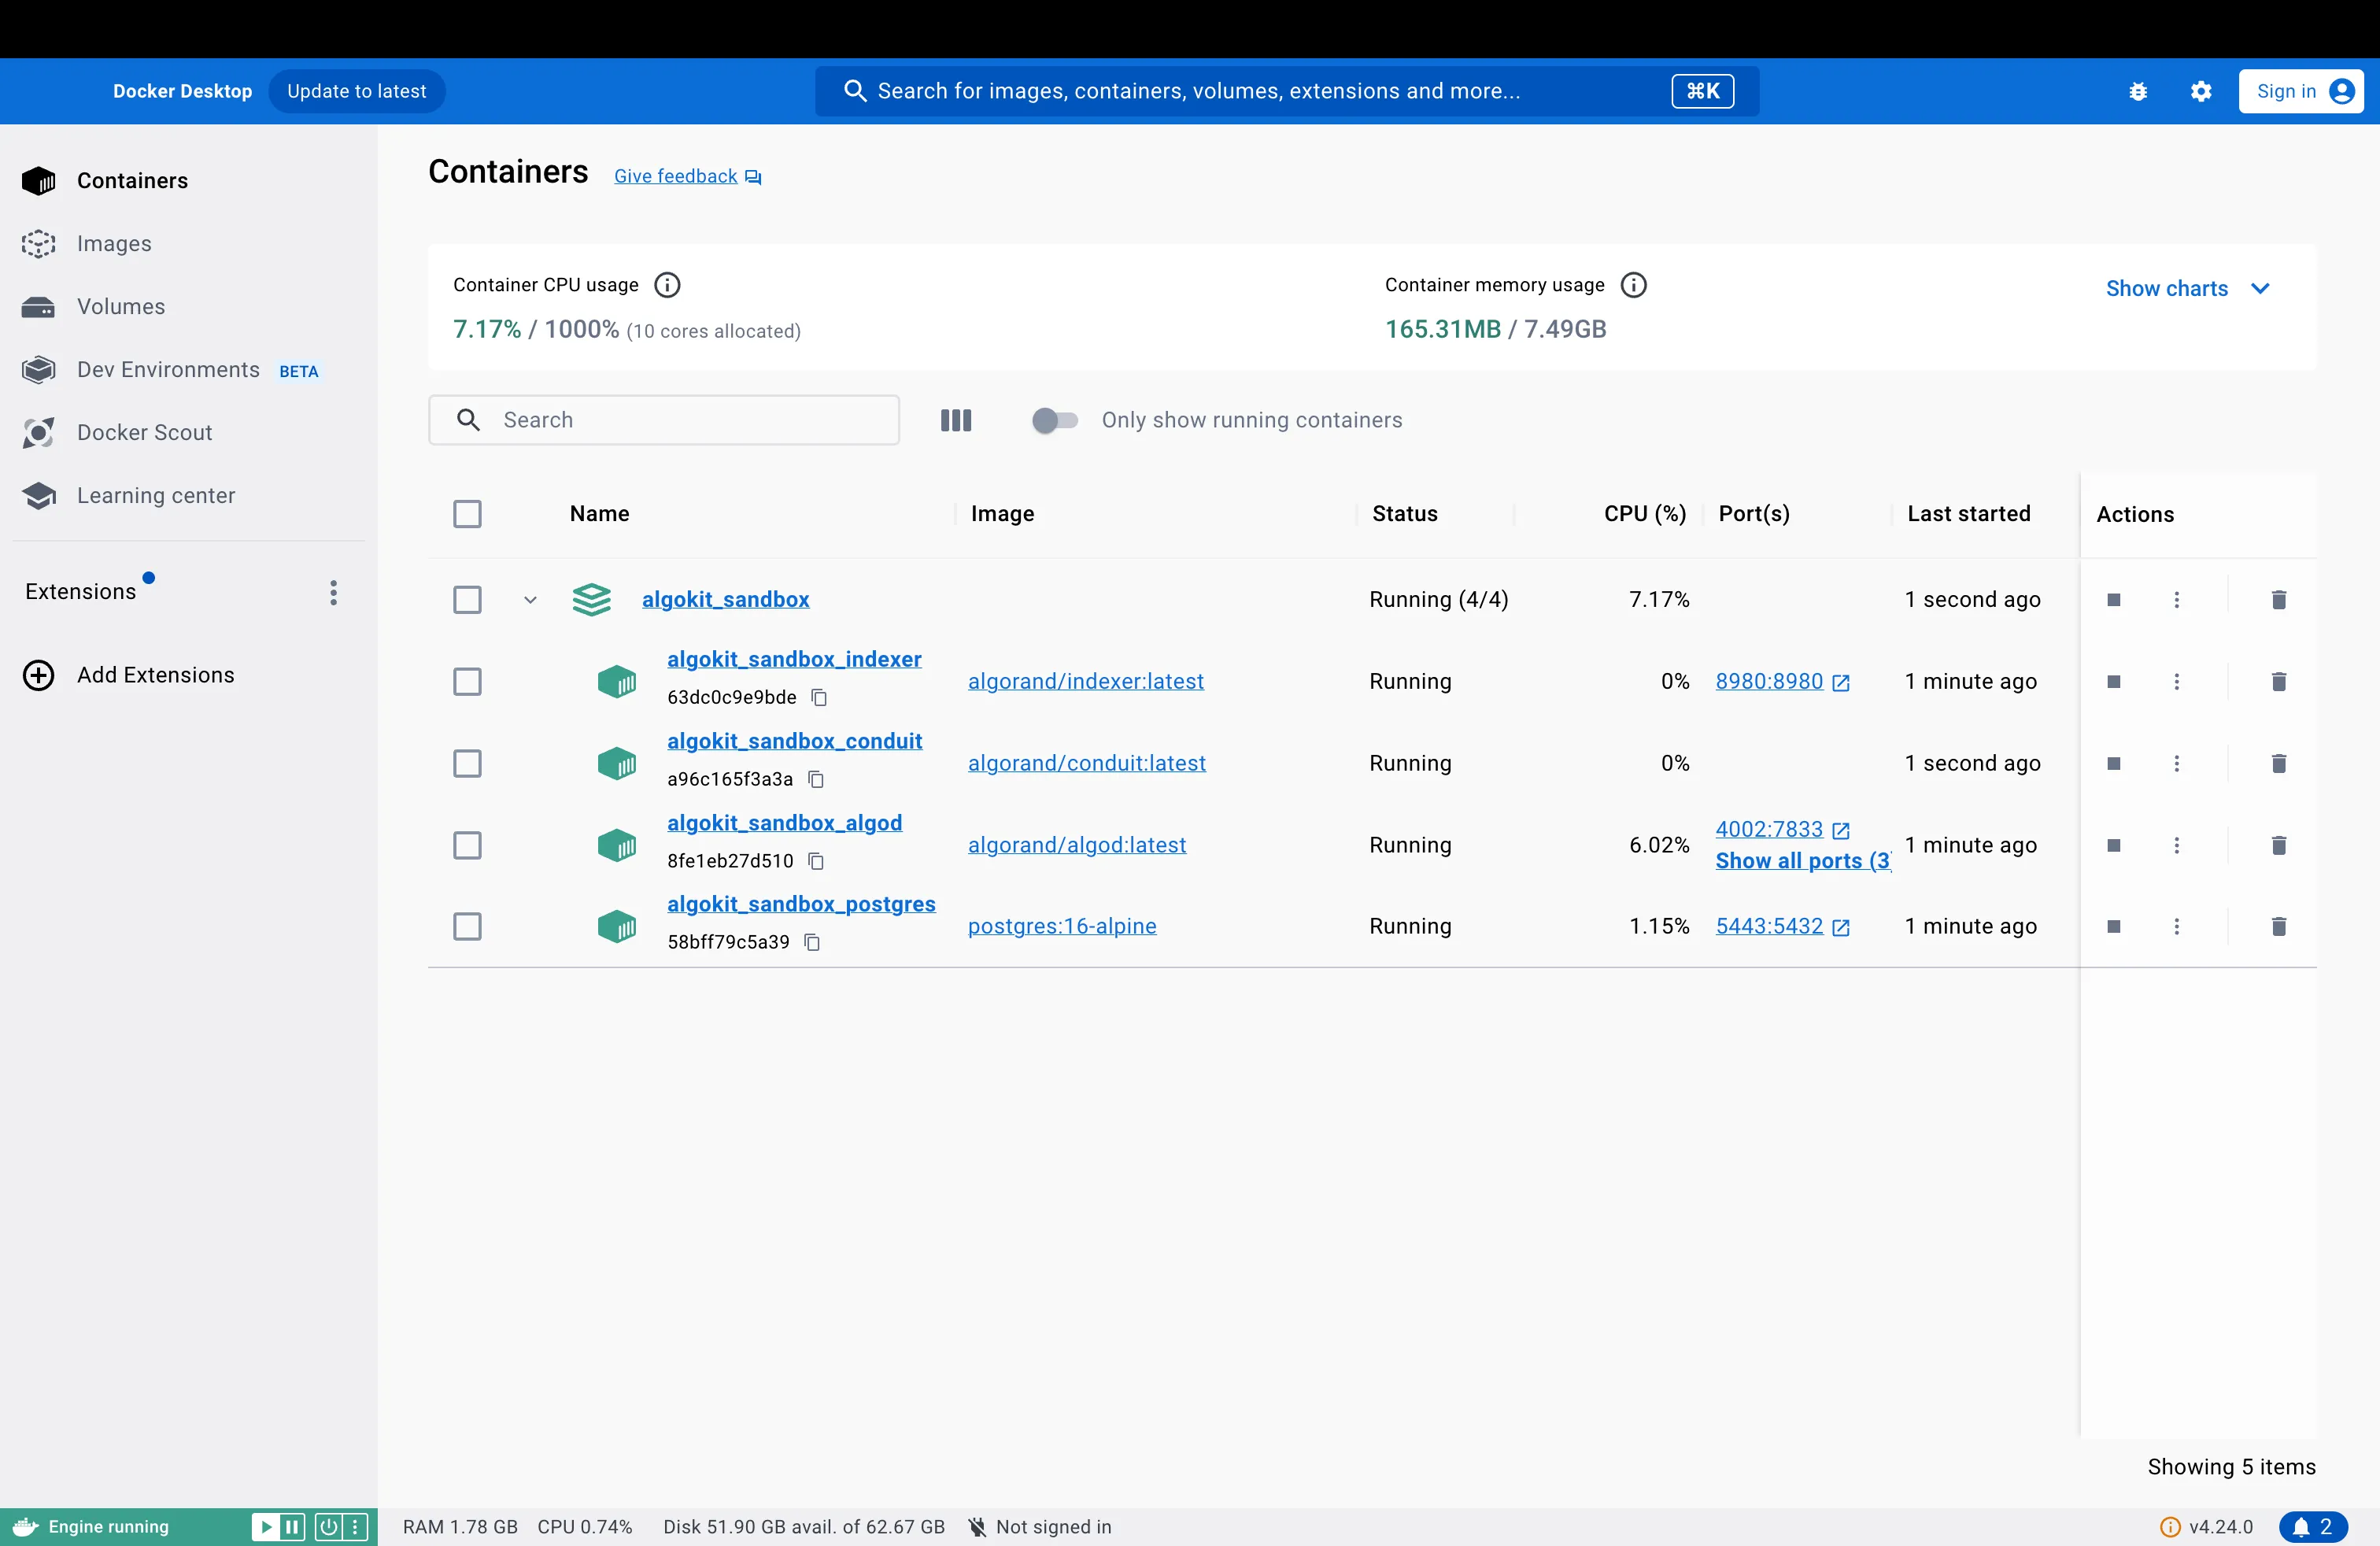
AlgoKit supports using a local version of the Algorand blockchain. To start an instance of this LocalNet first open Docker Desktop on your computer and then run the following command from the terminal:
algokit localnet startThis should start an instance of the LocalNet within docker. If you go to the Docker Desktop application you should see something similar to the following:
Create an AlgoKit Project
Now, let’s create an Algorand project with AlgoKit. We will refer to these projects as “AlgoKit projects.” AlgoKit provides a series of templates for you to use depending on the type of project you want to create.
-
To create a new AlgoKit project you can easily do so by running:
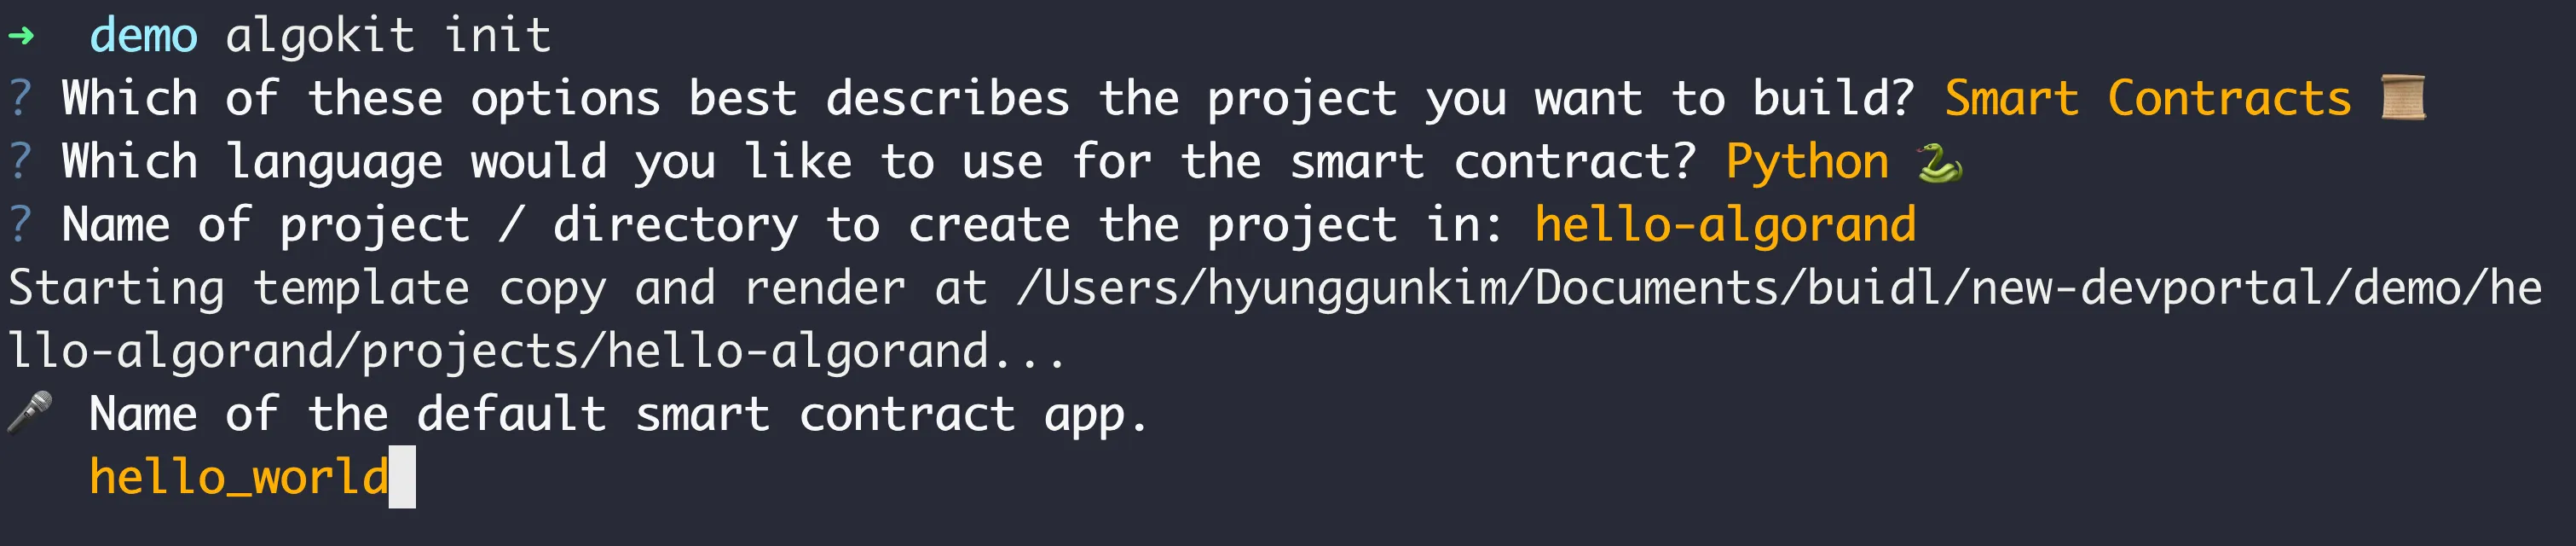
Terminal window algokit initThis will launch a guided menu system to create a specific project tailored to your needs. You will first be prompted to select the type of project you want to create. For this quick start guide, we will use the Python smart contract template, so select the “Smart Contracts” option.

-
Next, AlgoKit will ask you what programming language you want to use for the smart contract. With AlgoKit 2.0, you can now write Algorand smart contracts with native Python. Let’s select “Python” as our smart contract language by pressing enter.

-
Then AlgoKit will ask you for the name of the project. Let’s name it “hello-algorand”, but if you want to name it differently, feel free to do so! After writing the name, press enter to continue.

-
Next you can set the name of the smart contract. We will keep it as it is for now.
-
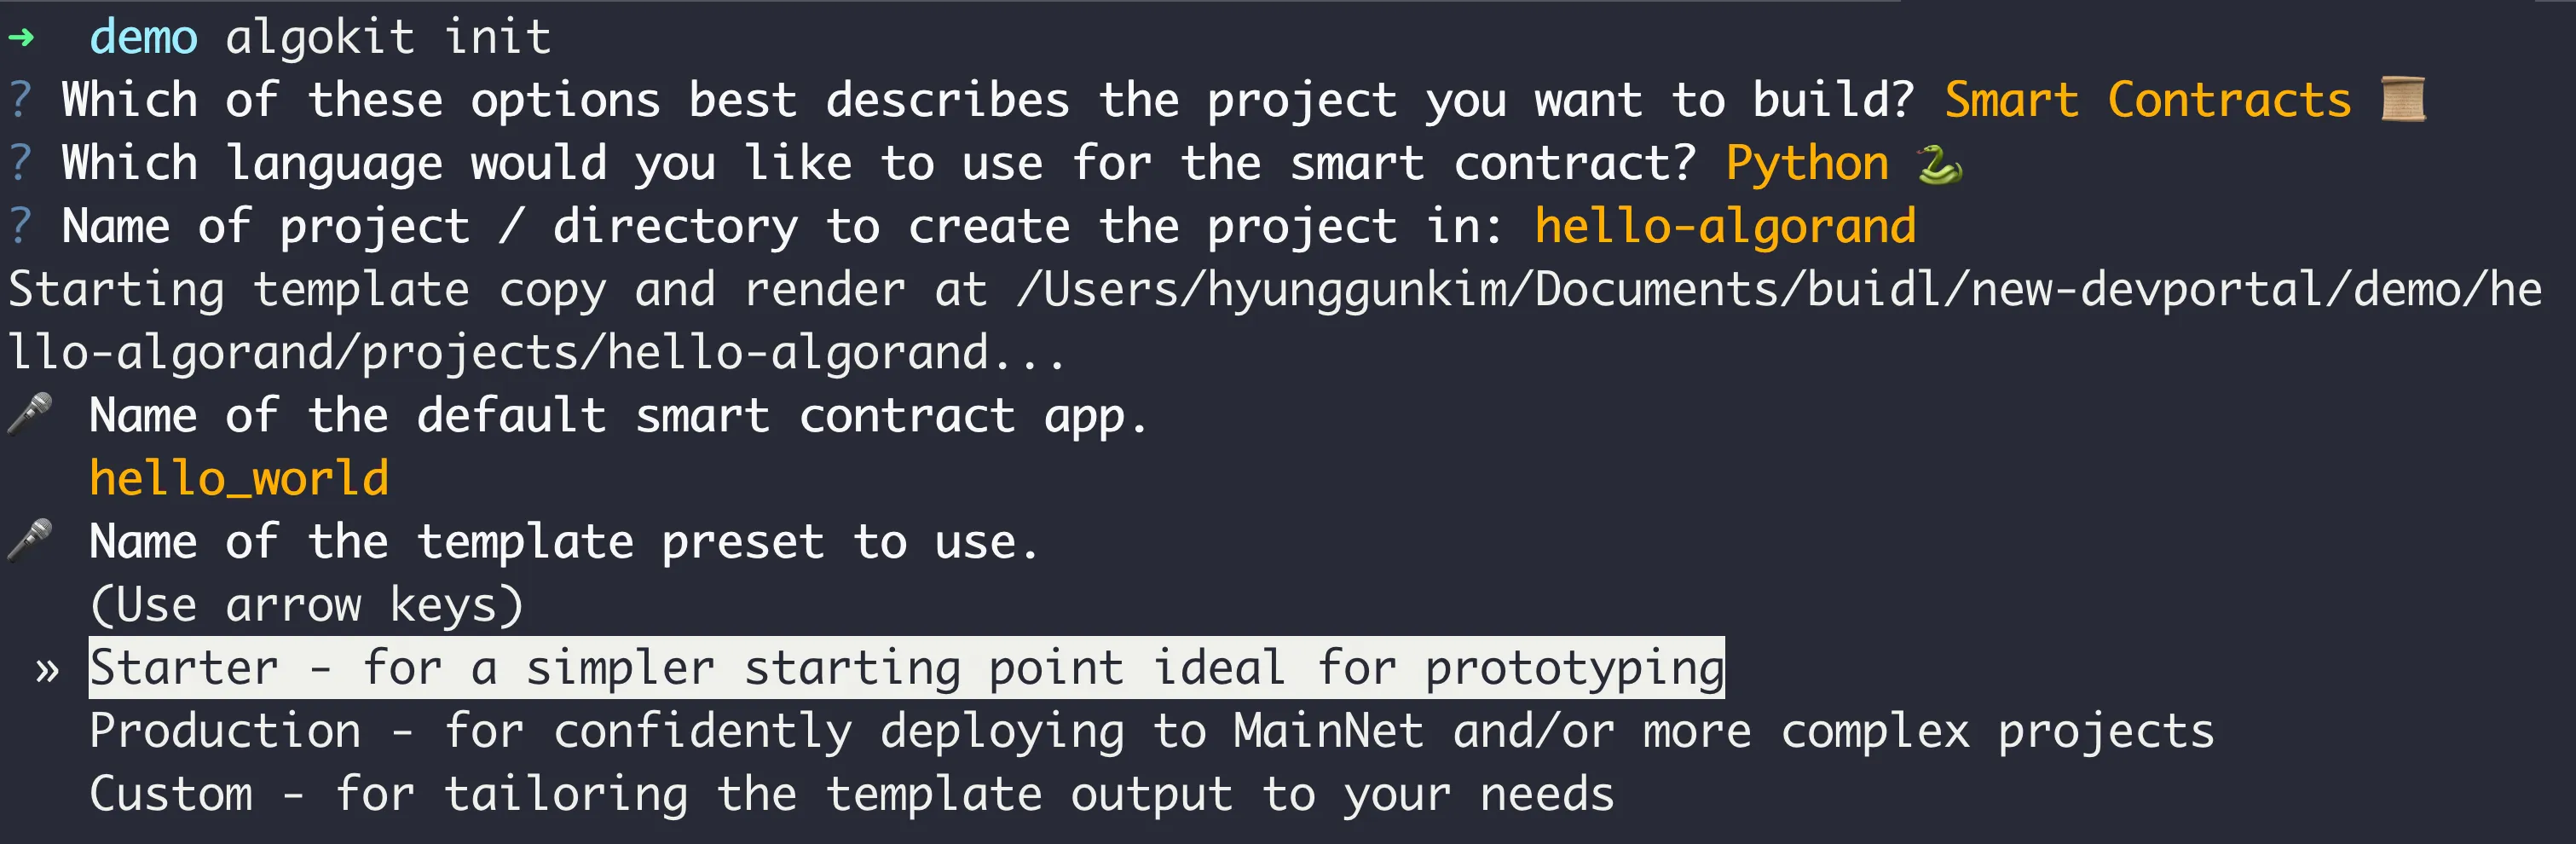
Next, you can select the template preset. The “Starter” preset is for quickly implementing and testing certain features whereas the “Production” preset is for production-ready applications. For this guide, let’s select “Starter”.
-
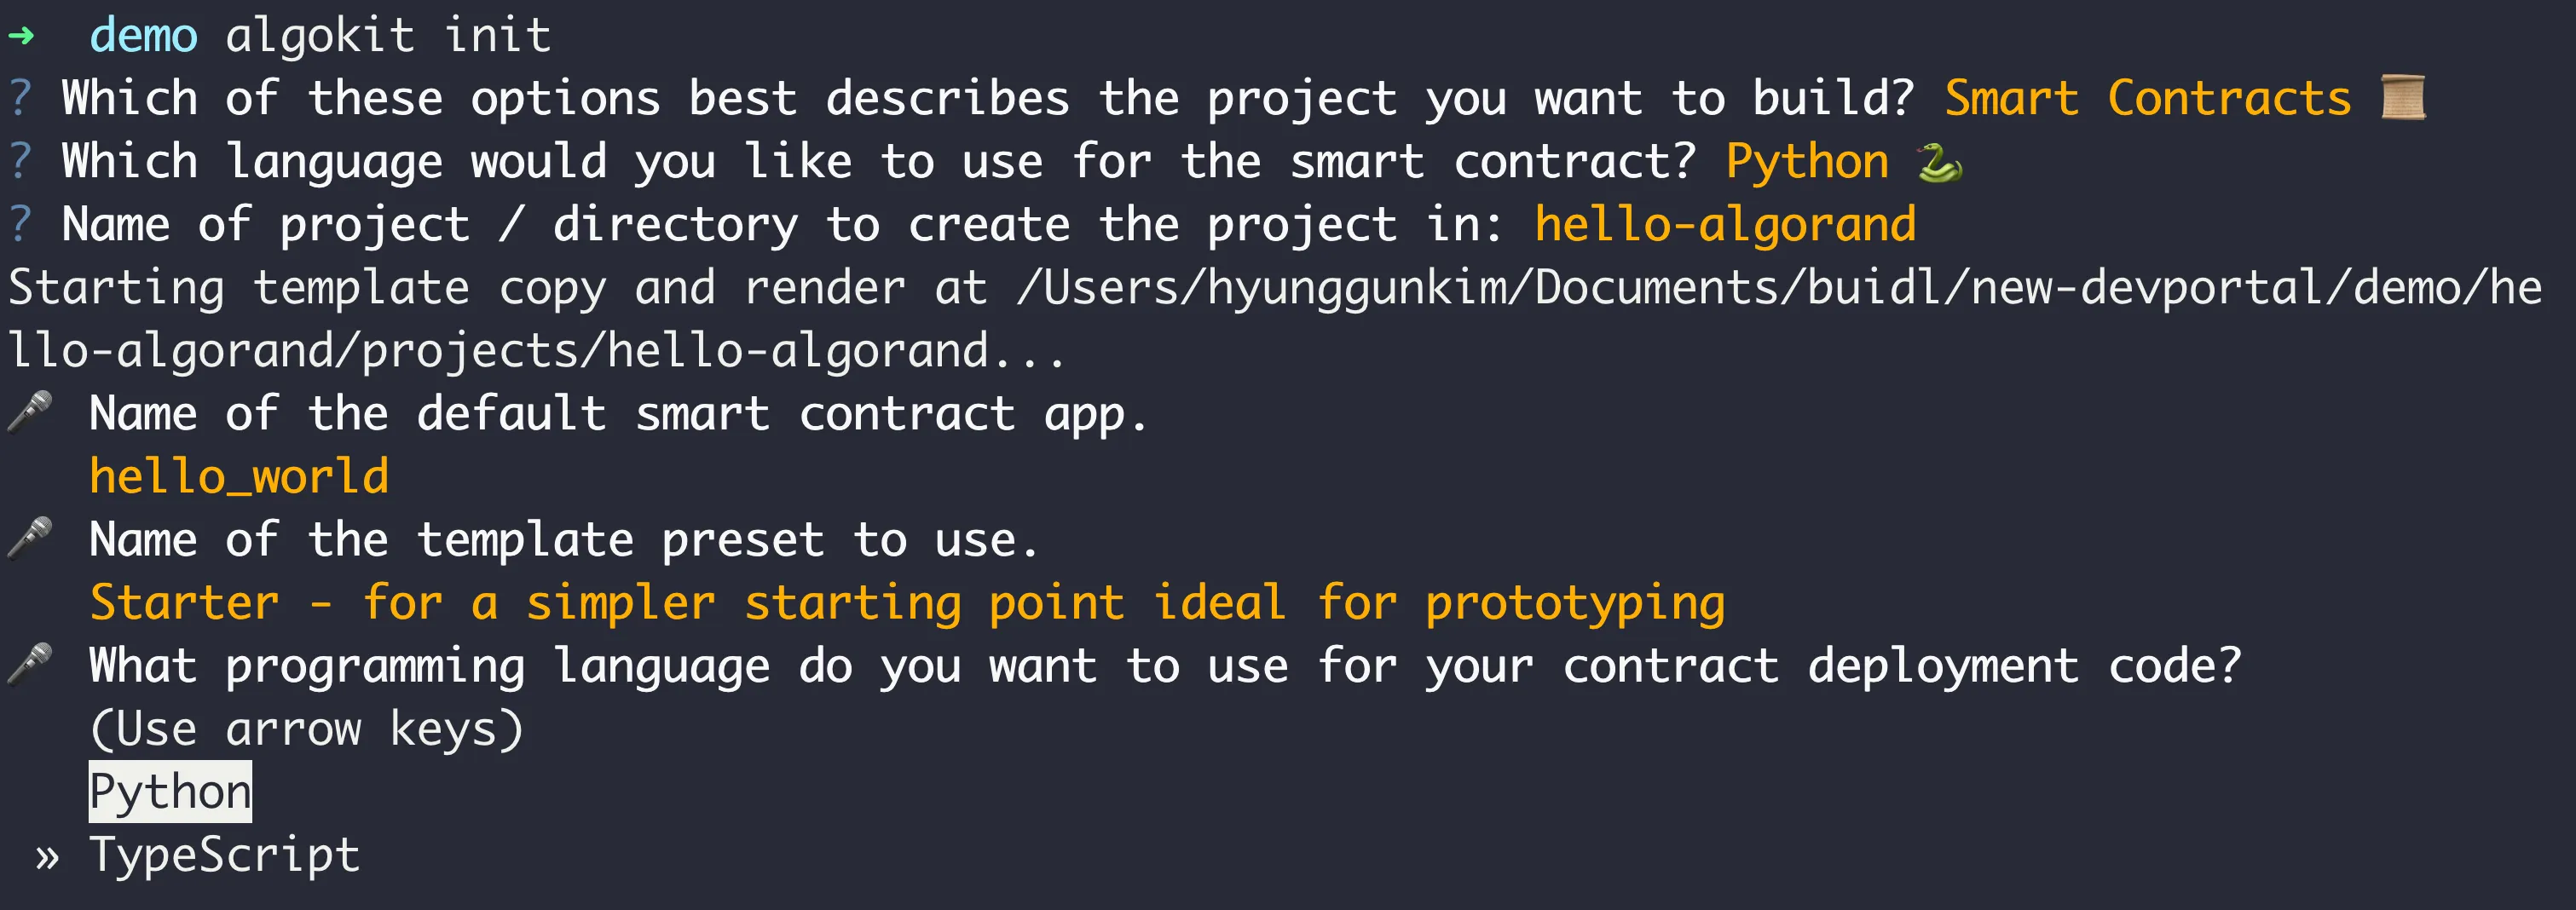
Next, AlgoKit will ask you what language you want to use for contract deployment. After writing your smart contract you need to deploy and call the contract either from your frontend or backend. Since most frontend frameworks are in TypeScript, let’s select TypeScript for this guide.
-
Next, AlgoKit will ask you if you want to run the
algokit project bootstrapcommand to install the necessary dependencies. Say yes by pressing “y” This process can take a few minutes.
-
Finally, AlgoKit will ask you if you want to initialize a git repository. Let’s say yes by pressing “y” so that we can easily push our AlgoKit project to Github.

-
Once finished, (if you have it installed) VS Code should automatically be opened with the initialized project and you will be prompted to install appropriate VS Code extensions.
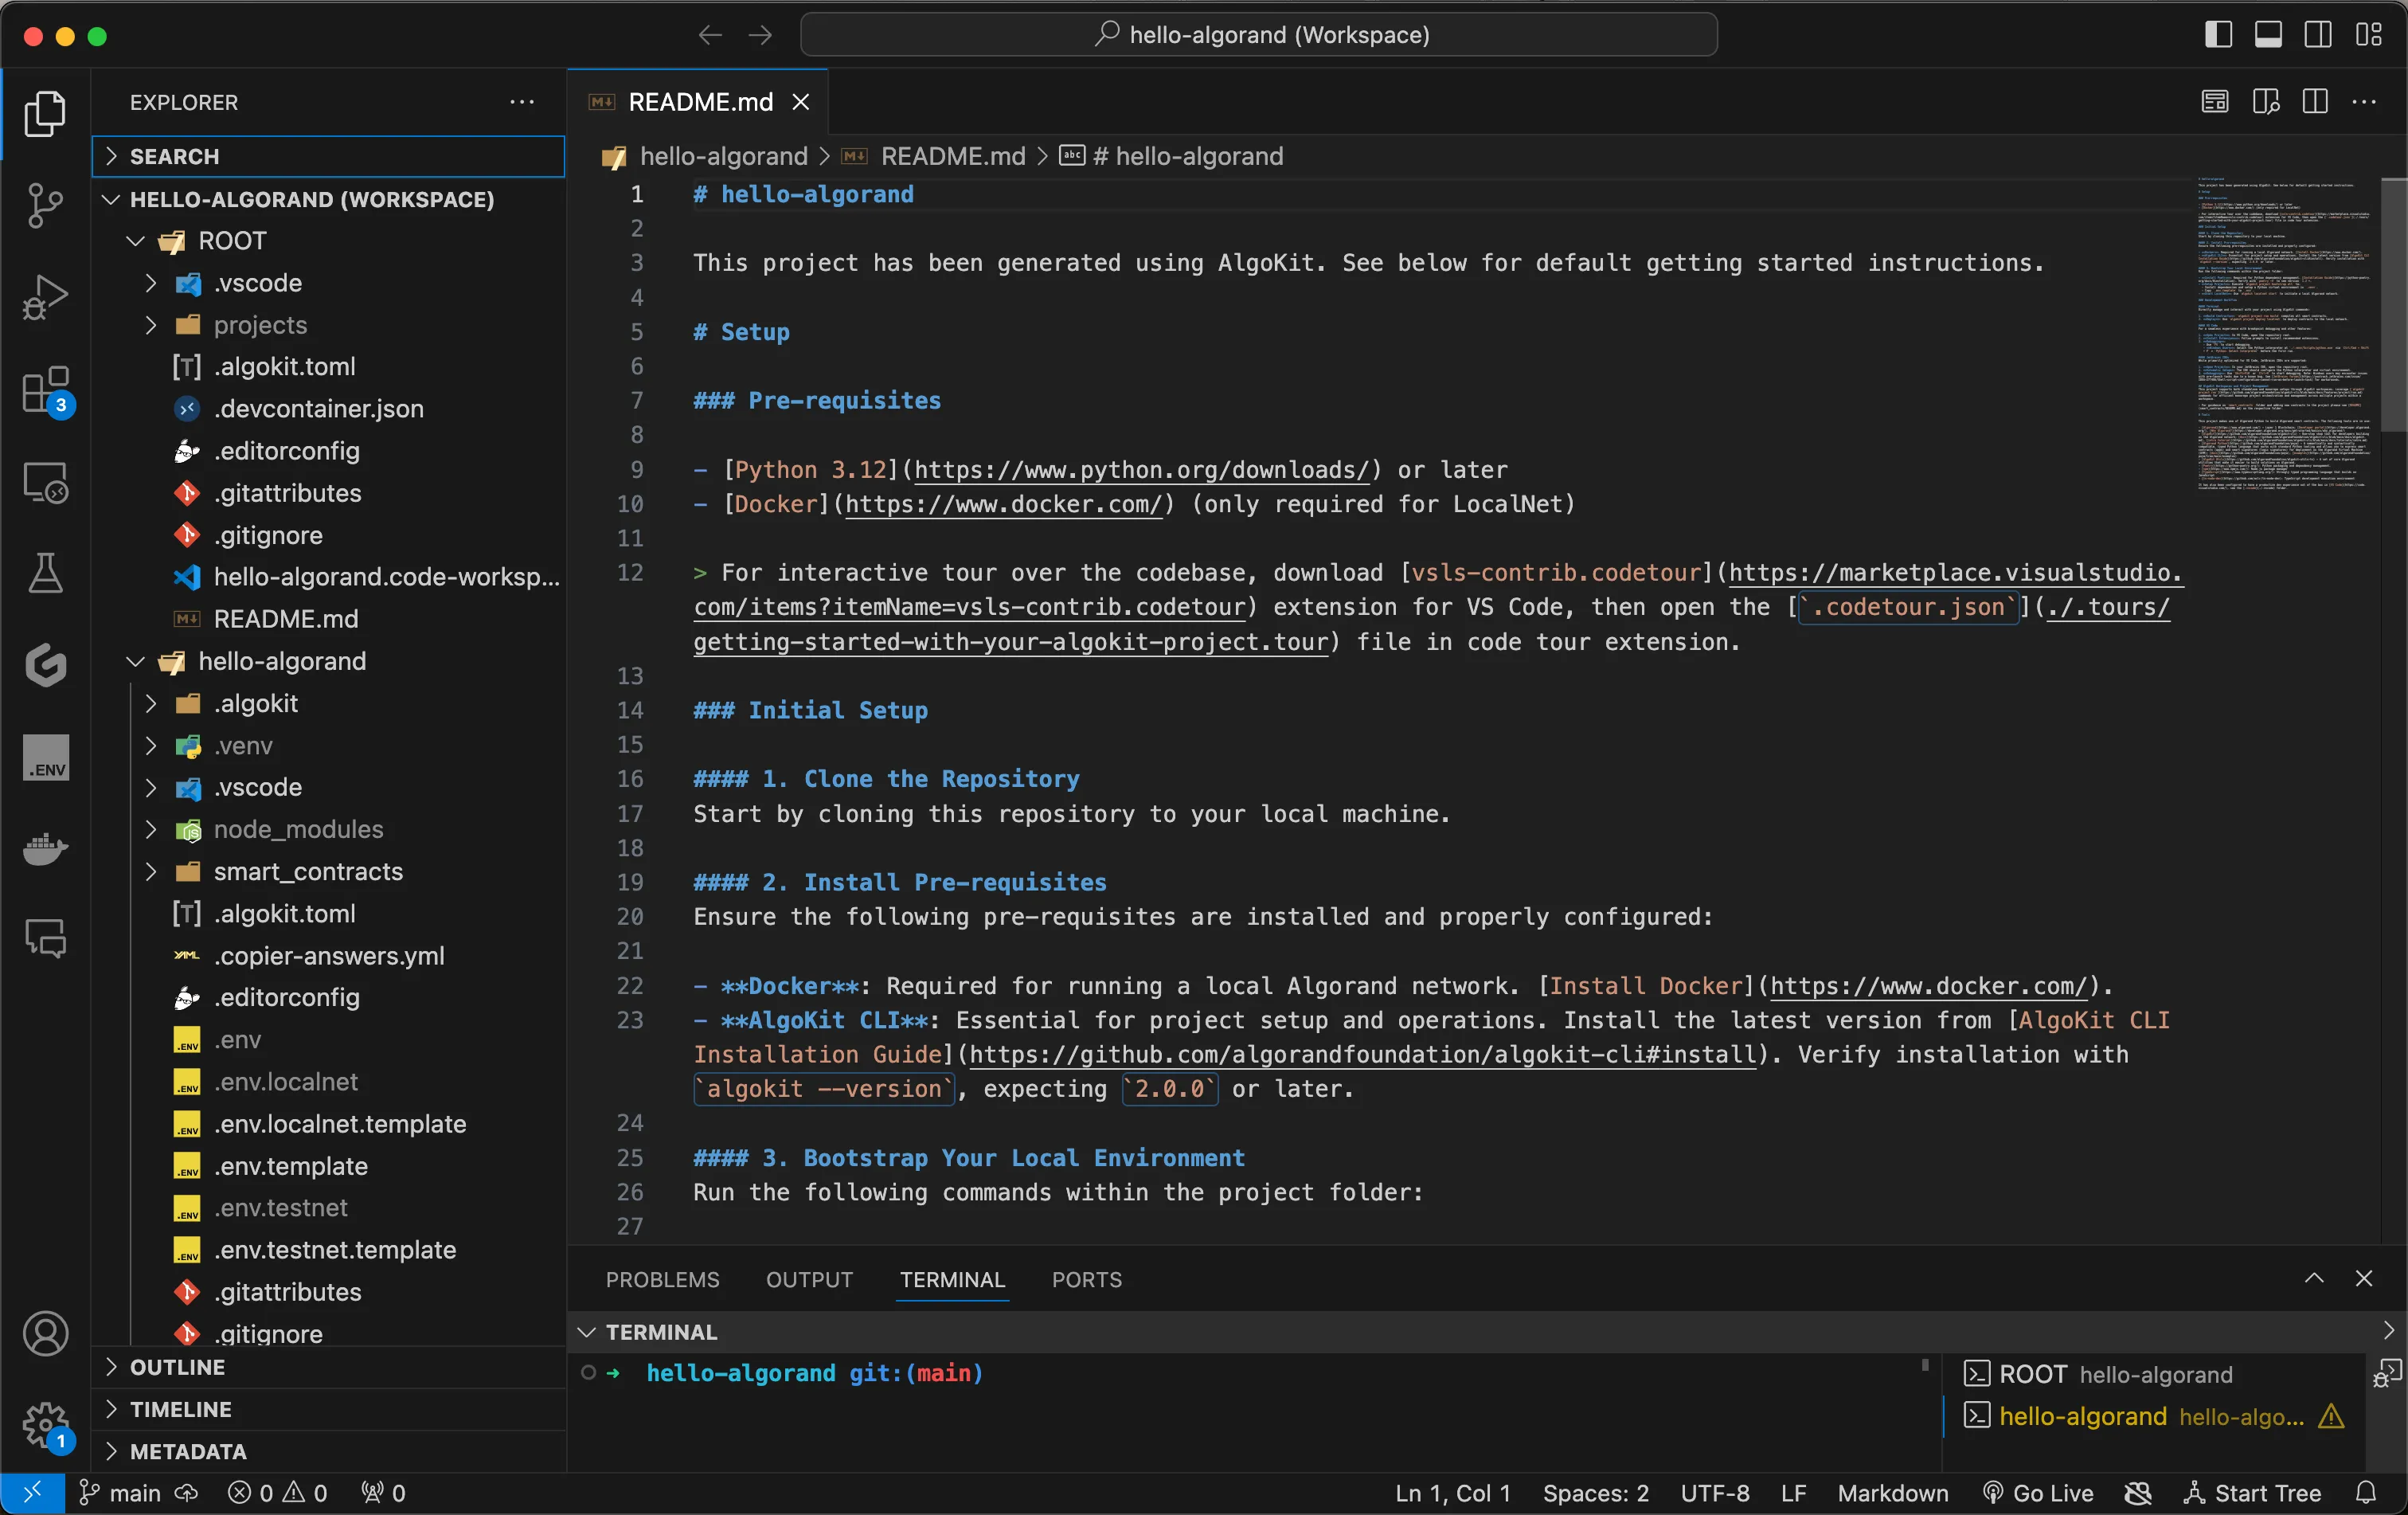
-
This starter app will contain one smart contract built with Python named
contract.py, in thesmart_contracts/hello_worldfolder, with one methodhellothat takes aStringand returns aString.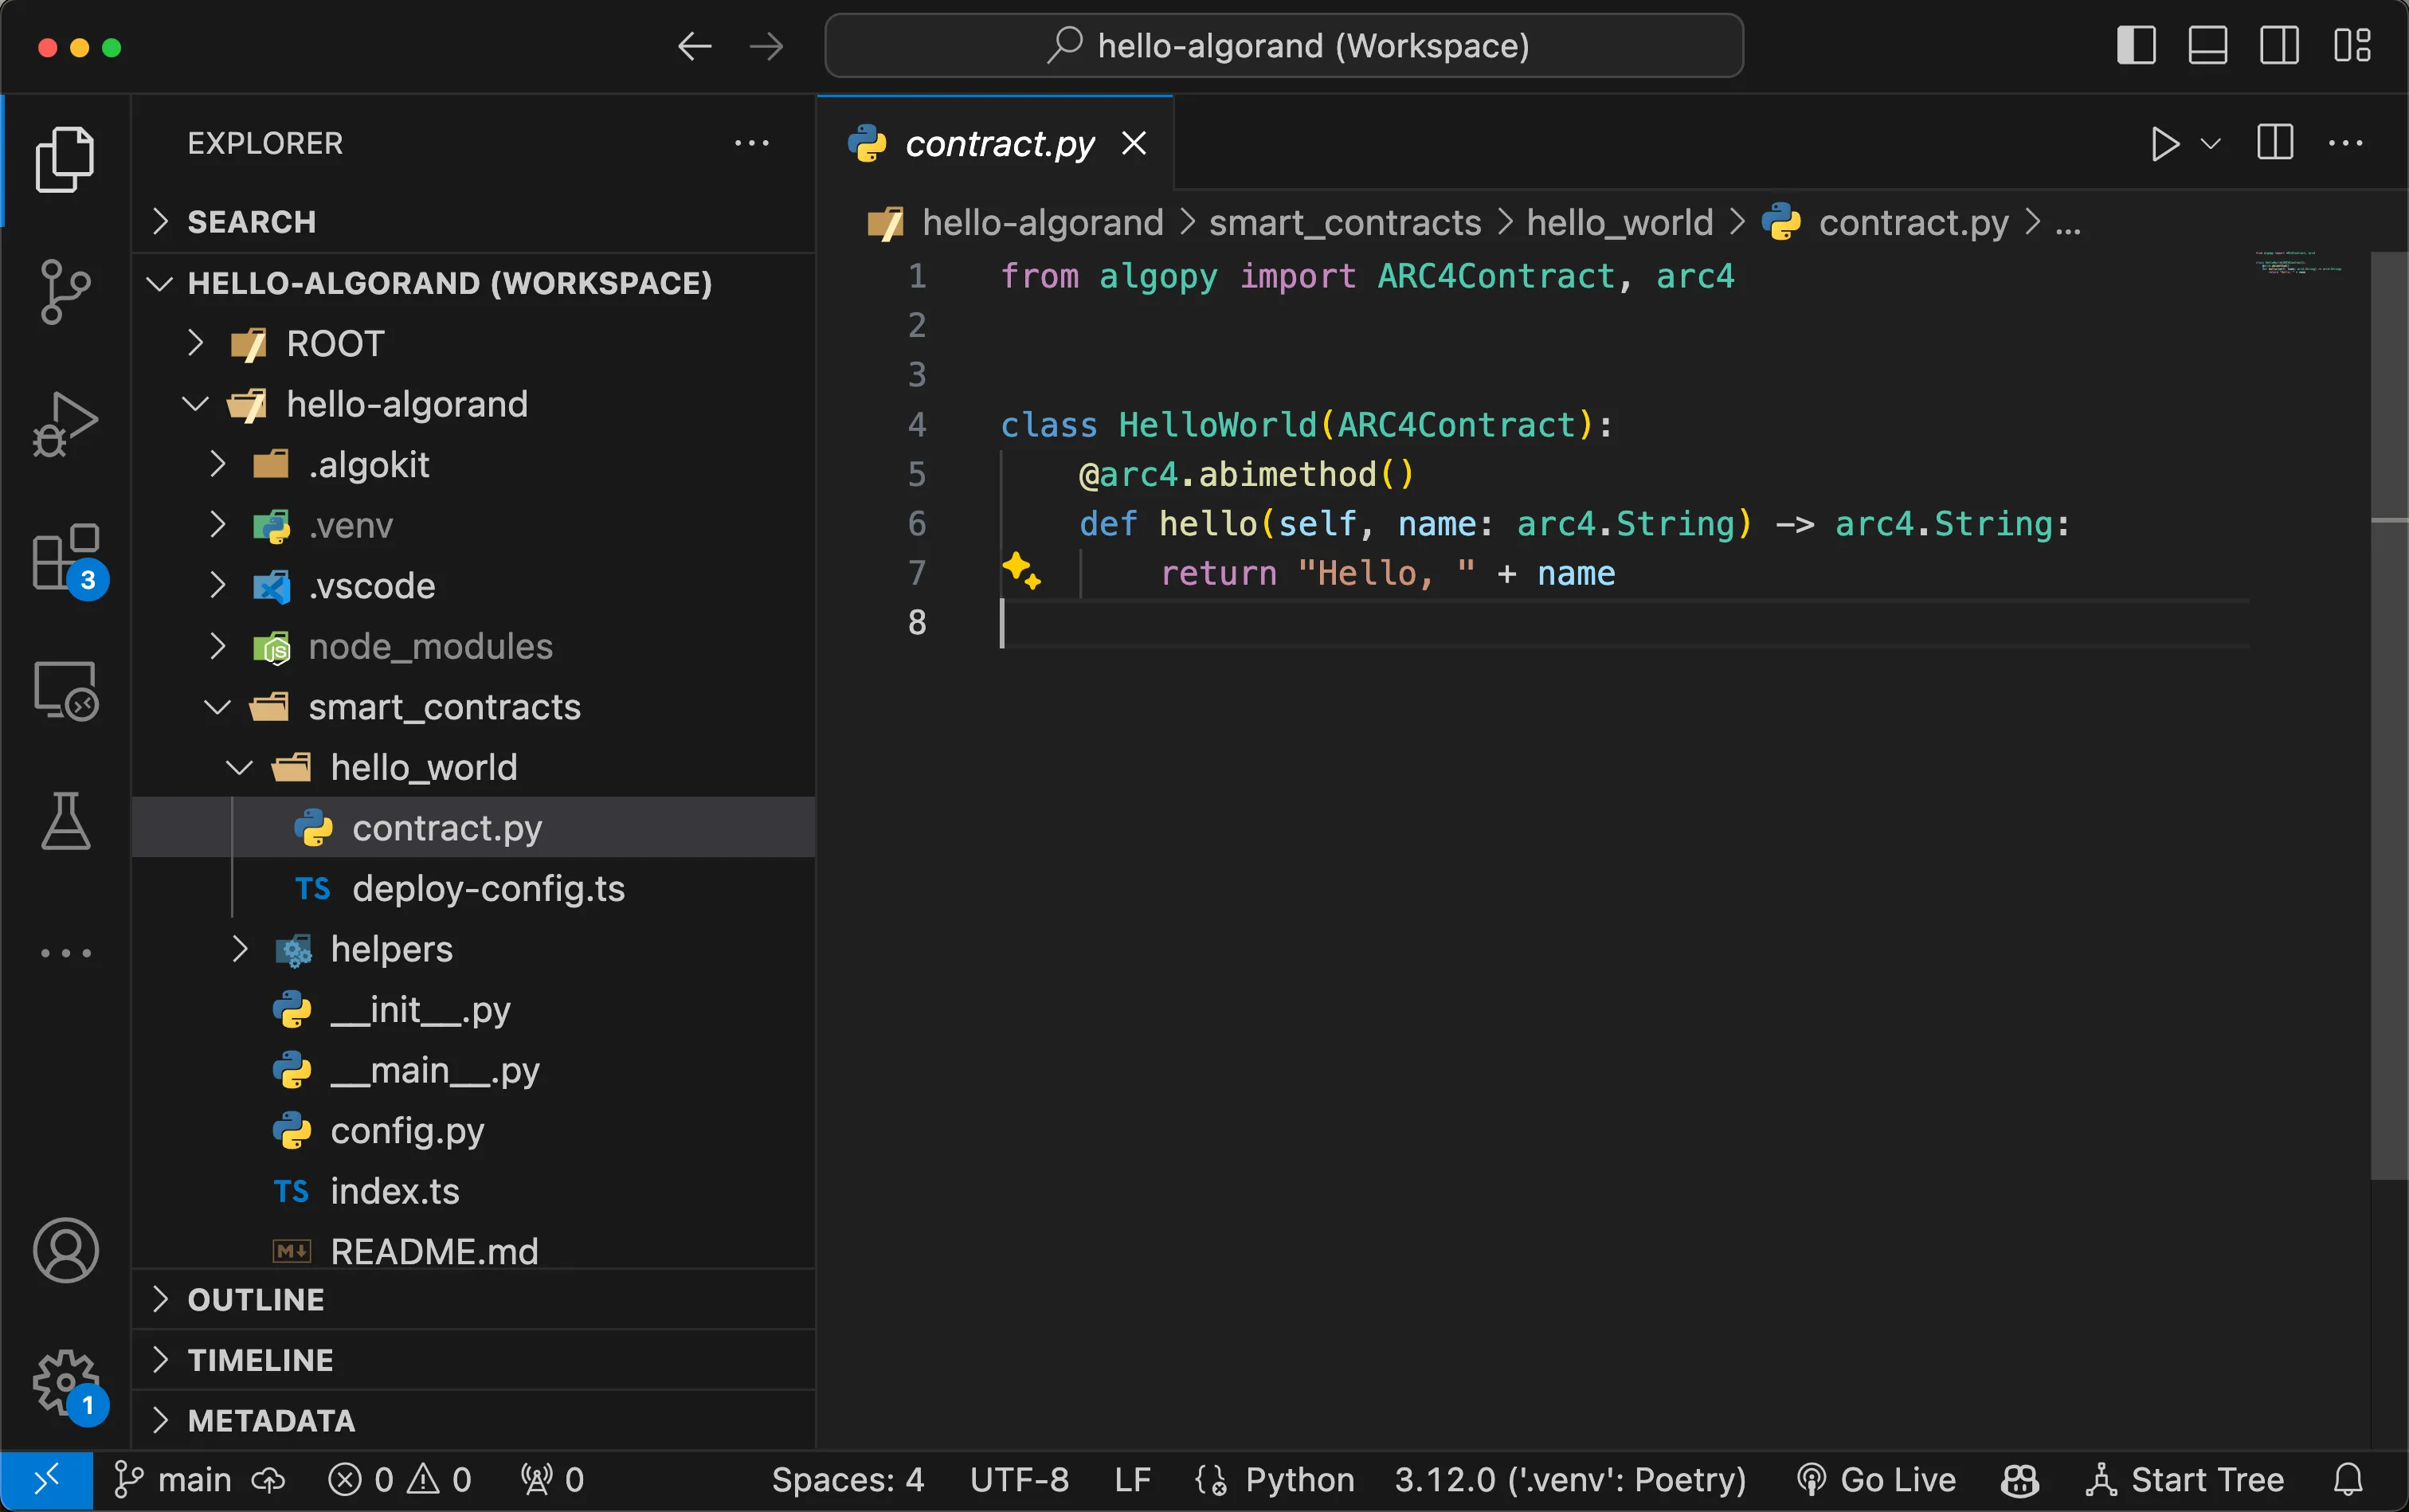
Run the Demo Application
Once the starter project is created, you will notice in the smart_contracts/hello_world folder a
file named deploy_config.ts which is a simple example of using AlgoKit to deploy and make a call
to the contract.py smart contract on the LocalNet instance started earlier.
Now there are two ways to run the deploy-config.ts file to deploy and call the smart contract:
-
By hitting F5 it will start LocalNet, build the smart contract, deploy and call the smart contract
contract.pyby running thedeploy-config.tsfile. The output should look similar to the following:Terminal window === Deploying HelloWorld === Idempotentlydeploying app "HelloWorld" from creator3TKAAPLBGRDCFF2M35X7TCZFMSSEAKV6WHJWOVO6C7LTFG2OAMJ5AA72AM using 85 bytes ofteal code and 4 bytes of teal code App HelloWorld not found in apps created by3TKAAPLBGRDCFF2M35X7TCZFMSSEAKV6WHJWOVO6C7LTFG2OAMJ5AA72AM; deploying app withversion 1.0. Created app 1002 from creator3TKAAPLBGRDCFF2M35X7TCZFMSSEAKV6WHJWOVO6C7LTFG2OAMJ5AA72AM Called hello onHelloWorld (1002) with name = world, received: Hello, world -
Alternatively, you can run the following commands from the terminal to build and run the
deploy-config.tsfile:Terminal window algokit project run buildalgokit project deploy localnetThe output should look similar to the following:

The App ID of of the deployed contract and its Algorand address is displayed, followed by the message returned from the smart contract call Hello, world.
Additionally, you can find the native TEAL smart contract code and the appropriate smart contract
manifest JSON files automatically generated in the artifacts folder.
Next steps
- To learn more about AlgoKit and what you can do with it, check out the AlgoKit documentation.
- To learn more about Python on Algorand, take a look at the Python documentation.
- More information on Algorand smart contracts is also available in the smart contract documentation.